Chase Morgan

Camera Border

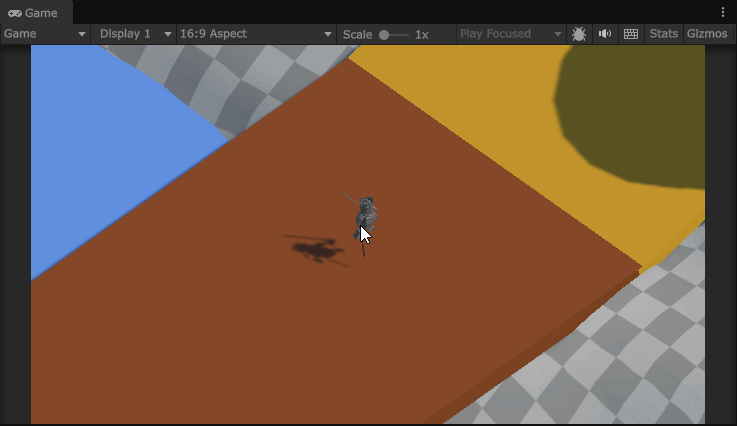
Popups
Little Arthur Sprint 5
04/09/2026
Sprint Overview
Sprint five is complete and with it came some nice additions to the project. This sprint had a bit less work complete; however, our game is in a really good state right now and I was given far less work to complete. During this sprint I completed eight cards which most related either to animation or UI updates.
The first thing that was done this sprint was the shop. The shop as it stands is just a simple boolean flag on an item spawner that instead creates the item as a shop item that costs gold instead of an item that the player can just pick up. The next thing after that was making a respawn anchor to allow players to revive other players. It basically just acts a simple interactable, but when it is activated, it takes 50% of the player's health to give to a randomly revived ally. That ally will then get teleported near the anchor itself, so they are in frame.
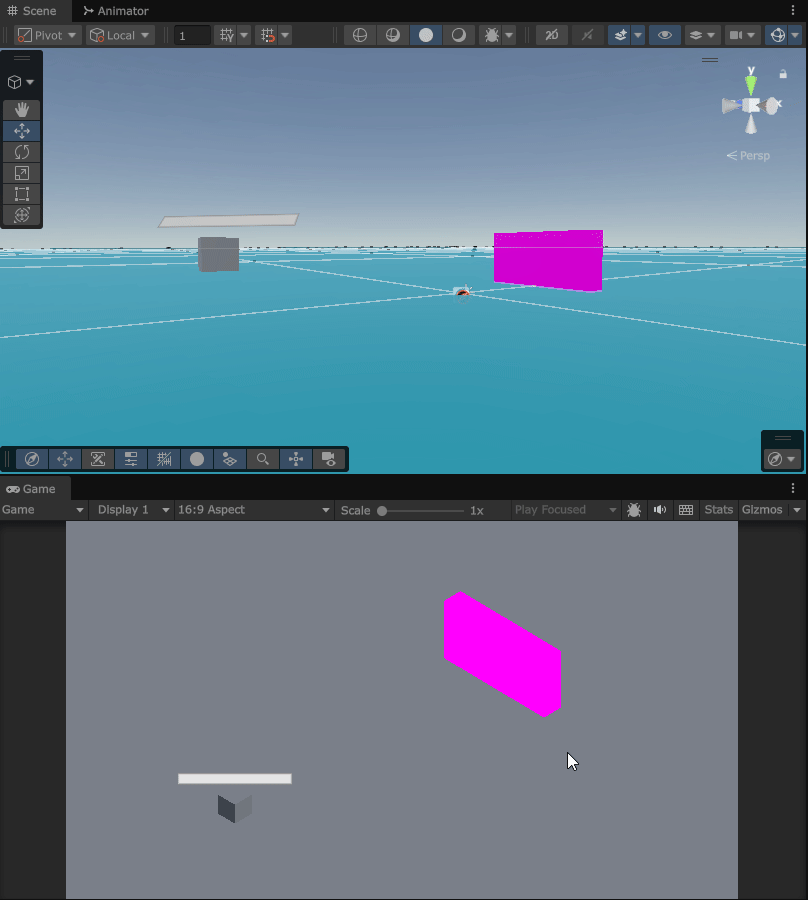
The last thing that wasn't animations or UI for this sprint was creating a border around the camera, so the players are always in frame. For the system I made it uses current screen width and height so all aspect ratios will work and basically just has four cubes that get positioned at each of the camera borders (one for forward, back, left, and right).
After this a bunch of animation work was completed. A lot of this stuff was more or less just importing the animation and then setting it up in the animator window; however, a couple animations like attacking and idle breaking did require some extra programming work. The attack animation needed some extra work as it needed to be converted to being event driven. For this I basically fire an event on the animator controller with an animation event so that when the swing looks like it has contact then the attack would actually fire. For idle breakers a similar, but simpler system was made where the animation event on the idle iterates an integer on the controller and when the number is greater than the desired idle break, it will play the idle break animation.
The last thing other than bug fixing that was done during this sprint was creating the user interface. I was kind of added onto completing the UI late because another team member was struggling with making it all work. For the UI I made the normal player HUD and the popup system. All the UI elements are fairly simple with just some data bindings to help keep things simple.
Overall, this sprint was a lot slower; however, I struggled greatly to receive cards as my designer and producer were fairly happy with where we are now. For the next sprint all that is lined up is sound implementation and bug fixing! Thanks for reading!

New Animations

Item Pickup

Field Bindings
Little Arthur Sprint 4
03/26/2026
Sprint Overview
Sprint four is over and with it came a ton of features! 29 cards were completed alongside two bug cards for a total of 33 points. This was the biggest sprint for me and a very good sprint for the rest of the team. The main focus for this sprint was on bosses and items, of which I can happily say are all implemented and work properly! There are 11 items currently alongside three bosses.
The boss system and item system both stem from the same system for handling strategies. For this I implemented a broker pattern with elements from the chain of command pattern with the broker as the “handler” for that. This allows me to combine the great extensibility and organization of the broker pattern with the incredible versatility of the chain of command pattern. Basically, a boss/item will contain modifier data assets which are the blueprint for modifiers or “chains” of the pattern. When the boss or player uses an item/strategy they will call the broker and have it handle data binding and manipulation. There are three different types of modifiers for this, one for queries which act as a container or a “handle” for the chain of command pattern which the broker invokes in a chain each modifier tied to the query type by lowest to highest priority. Priority is essential for these operations as we do not want modifiers modifying data in a way that could potentially corrupt the query. For example, you do not want to multiply then add or randomize elements when all elements aren’t initialized yet. The next type of modifier is an event driven modifier which is handled via an event bus that pawns (player/enemy) invoke as an event with the broker handling data cleanup. The last type of modifier is a passive modifier that gets applied when created and rejected when deleted. This modifier keeps track of the total contribution it is making to the data binding and will automatically put it back to its original state when deleted. The broker basically handles popping on and off for these modifiers.
Another big part of this system is the data binding system, which allows designers to edit any value (that is explicitly specified) for any class. The system backend works hand in hand with the Unity Properties system so any element that implements requirements of the Unity Properties system (is public or marked with a CreateProperty attribute) is exposed to the inspector. Once selected in the inspector it will create a bind using two string values, one for the type, and one for the binding path relative to the parent type. Then at runtime the code will bind an instance of the type and get or set that value depending on the behavior! This system works fairly similarly to the Unity UI Toolkit binding system, except with a bit more restrictions. Without the Unity Property systems this system would have had to use reflection which is well known for being hard to work with and extremely taxing on performance.
Every modifier has a count variable alongside a field binding to allow custom behavior with how it will increase when its count is increased. The field binding system is extremely useful for one particular modifier which is used in most of the items, and that modifier is the Stat Modifier. The stat modifier contains a field binding for whatever binding on a pawn the designer wants to manipulate. For example, one of the stat modifiers targets a pawn’s knockback field and increases it on pickup. Stat Modifiers work with all three types of modifiers unlike some modifiers which only support various events.
For this system to work the Player and Enemy system had to be reworked to be one single system which mimics Unreal Engine’s approach with the Pawn class. Players, Enemies, and Bosses all now inherit from a base Pawn class which holds all information that is common to these classes. Thus the modifier system is just plug and play with the only difference being how the pawn calls events. For example the player when attacking would create a melee query, pass it to the broker, and call the attack with the query. An enemy or boss would apply a melee strategy which handles that logic with queries and attacking. Keeps everything split for clarity with all the benefits of the broker and chain of command pattern.
Using these systems all three bosses didn’t need any specific code for implementation, just data assets describing behavior via data manipulation. This is also the same for most items; however, some items like the Aristocrats’ Boots needed custom implementation because of its uniqueness. Overall, I believe this system does everything needed and more for this project!
The other things I worked on this sprint were animation implementation, enemy alerts, respawning, and bug fixes. This sprint went extremely well and I am excited to see where the last few sprints take us as a team! We are basically down to just wish cards and bug fixes! Thank you for reading!

Character Selection

Halfdann Special Attack
Scene Transitioning
Archer
Little Arthur Sprint 3
03/05/2026
Sprint Overview
Sprint three has come to a close and with it came a lot of progress towards game completion! This sprint I was able to complete 13 cards and the entire team completed 194 points. This sets a new record for work completed in one sprint for this team and sets a good precedence for future sprints if this is our velocity throughout the project.
This sprint I mostly worked on enemy implementation with a bit of other miscellaneous tasks along the way. I am proud to say that all enemies were complete during this sprint and all that remains are the bosses which won't take that long after! Overall, I believe that this sprint went really well and cannot wait to see where the next few sprints take us.
The entire enemy system is built upon the strategy pattern which was defined last sprint and is used for pretty much everything the enemy does besides high level logic checks. The below code is the general logic loop for the base enemy which basically defines default behavior during each state. Each subsequent enemy has its own class that inherits from the base enemy to handle its own logic and flow.
Core Enemy Logic Loop
The first enemy I worked on this sprint was the barbarian which is a very good one to start as it is the simplest. All that the barbarian needs is the ability to attack which is a fairly simple strategy. The core idea of the enemy attack strategy is to wait until the enemy is in range and if they are, keep trying to attack until they are on cooldown (attack has a cooldown state), are out of range, or has changed strategies. This logic flow allows the barbarian to attack and still engage with the player at runtime.
The next enemy I worked on was the spearman. The spearman is like the barbarian; however, they have a lunge attack instead of a standard attack. To fulfill this requirement a lunge strategy must be made and because we are using Unity's navigation mesh, we need to get creative with the implementation. The way I get around the navigation mesh is to basically just disable it, and the lunge the enemy forward a bit and reenable the navigation mesh. The logic flow basically works like this: the spearman is alerted, goes to the player, attempt to attack, disable nav-mesh, lunge using a rigidbody, wait until the lunge is complete, re-enable nav-mesh, and repeat! This is of course an oversimplification of the system, but that is how it works on a high level.
The next enemy finished was the archer. By far the archer is the most complicated (and janky) enemy in Little Arthur. The archer unlike every other enemy in the game is a ranged enemy and that means we have to change a lot of logic, or do we? You see, an archer just basically sends a projectile and when the projectile hits down we tell the object it was damaged. What if we just use the standard melee attack, but move its attack area to the object being hit instead and put the cooldown to zero seconds? This approach allows us to define an attack that can dynamically move positions and thus we cut down on a lot of extra work that is unneeded. We, however, do still need a strategy for shooting as we want this decoupled from the standard attack strategy. Basically, how it works is that it checks where the player is, finds the velocity needed to shoot an arrow to that location, spawn a projectile, apply the velocity, and when the arrow collides with something, update the attack script location to represent the arrow hit location. This way allows us to leverage already made systems and apply new behavior to them! The archer also needs to also fallback if the player is too close. For this I basically just disable the attack strategy and set the enemy destination in the opposite direction of the player if the player comes too close.
Shoot Strategy Logic
The next thing completed at this point was the ability to push enemies back with attacks. For this I literally just take the lunge strategy and apply a negative direction to it. Best to reuse code whenever possible!
The next enemy was the berserker which is very cool and unique; however, doesn't actually contain any new strategies. Basically, when the berserker is enraged, they will become faster and apply an attack sphere around them that hurts everything within. For this I just applied the attack on the enemy itself with a radius specified.
The second to last enemy was the shieldbearer which also has no unique strategies. This one actually turns into a barbarian when its shield is broken. The easiest way to implement this is to just spawn a barbarian when the original shieldbearer is killed. The last enemy was the housekarl which is just a beefed-up barbarian. No extra code was really needed for this enemy.
The last things finished this sprint included was a simple scene transition system, local player spawn areas, plugin addition, damage implementation, and audio implementation. The scene transition system just loads a new scene on top of the currently active scene just to avoid transitioning from one scene to the next. The local player spawn areas look to see if all players are located within itself and if so, allows for more players to load in and have a device assigned. Plugin addition included adding the Substance 3D Plugin for Unity which allows our level designer more freedom with materials. The damage implementation was just hooking up the pre-existing damage system to the player and having animations play for them. Lastly, the audio implementation just included having the player grunt when hurt.
Overall, this sprint went really well! I do hope that my team can keep up the velocity because if so, our game is going to turn out amazingly. Thank you for reading!

Spearman
Shieldbearer

King Arthur Animations

Sir Percival's Ability
Little Arthur Sprint 2
02/18/2026
Sprint Overview
Sprint 2 is finished and with it came 18 points of completion! A lot was completed this sprint, and I am extremely proud of the team with how much we pushed through especially with sprint 1 being as slow as it was. A lot of the work this sprint was related to player abilities, movement, and enemies. I also did do a bit of audio, animation, and model implementation.
This sprint I started with a couple enemy related cards starting with a simple prefab spawner for the enemies. The main functionality of this prefab spawner is to instantiate a prefab when triggered. It has three different ways to trigger a spawn with those being InvokeRepeating, OnTrigger, or Custom. A common use case for Custom is to use the animator to trigger an animation event to spawn the prefab, but any class or method can invoke the spawning of the prefab as Custom mode just means it won't automatically spawn the prefab. It serves as a one stop shop for everything related to spawning prefabs!
The other enemy related thing I did was give the enemy the ability of traversal! It is very rudimentary; however, it is coded perfectly to allow us to build on top of this base with enemy states so we can apply strategies in that way!
Prefab Spawner Code
Pretty much the rest of this sprint time was spent on perfecting our players. I started by allowing the player to die which was as simple as adding a function that gets called when their health hits zero. As a temporary death we just unload the player from the world and wait until they respawn to spawn them back in. In the future we will most likely play a death animation and have some sort of way to bring them back.
The next thing was making all of the special abilities for the player. I started with making a base class that leverages the PlayerAttack class I made last sprint which pretty much has all the logic and timers needed to make these special attacks. I then made a class for each attack that has unique implementation except for King Arthur. King Arthur is just a larger attack, so I just use the default SpecialAttack class with different starting parameters. Sir Gawain was next which is just a spherical attack which I solved by adding a boolean flag to the base PlayerAttack class so spherical attacks work. Sir Percival has my personal favorite attack where they slam their weapon into the ground sending anything in their path flying! I accomplished this by binding a function to the OnEnemyHit event within the PlayerAttack script to know when the player hits something that needs to be launched. I then get the direction between the player and object and launch them depending on the magnitude set in the inspector. Lastly, I programmed Sir Lancelot's special ability which is just a dash with invincibility frames. I basically check if they can attack and if they can, apply an impulse force to give a forward thrust.
Sir Percival's Ability Code
Next on the to-do list was importing the player alongside implementing the animations. For this I took a page out of Unreal's book and created a dedicated animation controller similar to Unreal Engine's AnimationInstance class. This allows me to have a base class that automatically binds animation hashes with their name so I can easily vet any parameters. I then made a PlayerAnimatorController that will act as a global controller instance for all players. Basically, I instantiate this alongside the player so that whenever I want the player to move, I can just call it instead of getting reference to the animator component, checking if the parameter exists, and then setting the value. This in my opinion just makes things simpler with one unified call.
I retroactively fit all animations related to moving into the codebase. I also made all animations calls generic so that when we add more in for certain characters their animations will automatically play with zero extra code! The only thing this system doesn't do is lock the Animator so that only the class can edit like Unreal, but with Unity's architecture this is just not really feasible. The system actually went through a couple revisions where the first one worked; however, was way over-engineered. It was meant to be a onetime create and forget class to just handle everything. This approach works but just didn't really make sense with the architecture of our own game. I decided to take the simple approach next and just have it bind parameters on start and have a couple helper functions. All other implementation is on the specific instance of the controller.
Base Animator Controller Code
The last few things I did this sprint involved implementing a dash with invincibility frames, create a movement controller, and music implementation. The dash was easy as it was already implemented through Sir Lancelot's special ability, but I did add a few extra parameters so that the designer can fine tune it! The movement controller was originally a job for another programmer; however, it did not work and we needed one really quickly for a build, so I added it which is great because before I didn't have any of the animations linked to actual movement. Lastly, the music implementation was added so that the level designer can easily bind a AKAudioEvent (Wwise sound) to a specific scene to be loaded. I decided to go by name only because if going on indexes the scene needs to be included in the build which isn't always the case.
Overall, I feel like this sprint was a lot better than the first one and if we stay on track, we will be able to finish this game by the deadline no problem! Thank you for reading!

Player Movement

Dash Animation

Camera System Demo

Custom Input Manager Settings
Little Arthur Sprint 1
02/05/2026
Sprint Overview
Sprint 1 has already been completed and with it came with many of our base systems done. This project I am more or less taking a backseat to implementation of most frontend systems and instead focusing on backend systems. This sprint had me completing a custom multi-player input manager, player camera systems, project setup, and the framework for our enemy system.
I've always had a love-hate relationship with Unity's built-in input manager and try to avoid using it as much as possible. I really hate systems that act as a black box where you cannot see what is happening nor get components it is creating. Thus, I decided to make my own input manager. Is it overkill? Yes! Is it cool and more controllable? Also, yes! The main pain point that I come across with the input manager is the spawning and de-spawning of players. The custom input manager uses a custom settings asset that is fully editable in the inspector as seen to the left of this text!
Something I do when programming new systems like this is to try different programming language features. I have been a longtime fan of some of C#'s functional patterns like pattern matching, so I decided to make the logic of getting a spawn position into a positional pattern. This is pretty much a switch statement that returns a type at the end. Here is an example of what it looks like in our code. Note: this is the code shortened without input checking or comments.
The part of that input system that took the longest was actually the systems that allow the manager to run. I have had the recent experience of getting acquainted with Unreal C++ programming and through it really enjoyed the Subsystems that are built into the engine. I decided to completely port over that system into Unity C# just to have a better time managing my systems. This was a daunting task that took many hours to get working, but I believe it was well worth it. The main way of how it works is it has a main GameInstance that is the only singleton in the game. It then will spawn in any subsystems it finds in the assembly of the game and initialize them accordingly. There are three types of subsystems, a IGameService which has the life cycle of the game, ISceneService which has the lifetime of the scene it was created in, and IGameLoopService which provides common MonoBehaviour functions like Update, FIxedUpdate, and LateUpdate. All of these allow any class to have a particular lifetime and exist outside of the main game loop for complete control over the game systems. It also has a Bootstrapper class that initializes everything that is necessary for the system to function. Note: the reason for them being called Services is to make it in line with C# naming conventions instead of C++. Here is some code that is a part of main GameInstance that spawns in all GameServices right before the first scene is loaded.
The next thing I worked on was the camera system which proved to be a lot easier to implement than I originally thought. I have a lot of experience with making these types of systems and know they can sometimes be a nightmare; however, due to the framework that I made before it was a breeze. What I basically did was create a new IGameService which might be changed to a ISceneService later on, but for now IGameService works. With that I added the IGameLoopService interface which gave me access to the LateUpdate function in Unity. In this loop it basically looks to see if its frustrum size, position, or rotation needs updates and linearly interpolates each value necessary. Everything is also data driven so if the designer wants a change, they can add it! Here is some of the code that handles the resizing.
The last real implementation that I did during this sprint was the Enemy framework. I based it off of what I did during the development of Steel Specter, but with less anonymous/lambda expression bloat. A big pain point of that system was too generic and caused a bunch of impossible to debug errors. This system will be a lot more specialized to just handling strategies instead of everything under the sun. It is a basic strategy pattern where one strategy can be active at once. Here is some of that code that makes it work!
The rest of this sprint was spent on initial project set up and the Wwise integration in Unity. Overall, this sprint was a bit slow in terms of my previous work; however, I am fulfilling the role of a background programmer as I unfortunately have a lot more duties to attend to and was told to take on less work due to this. However, I always like to experiment and when I start programming it can be very hard to stop! Thanks for reading!
